Rename Zones in Home Assistant
This article applies to Konnected devices connecting to Home Assistant using ESPHome firmware. See: Add a Konnected device to Home Assistant using ESPHome.
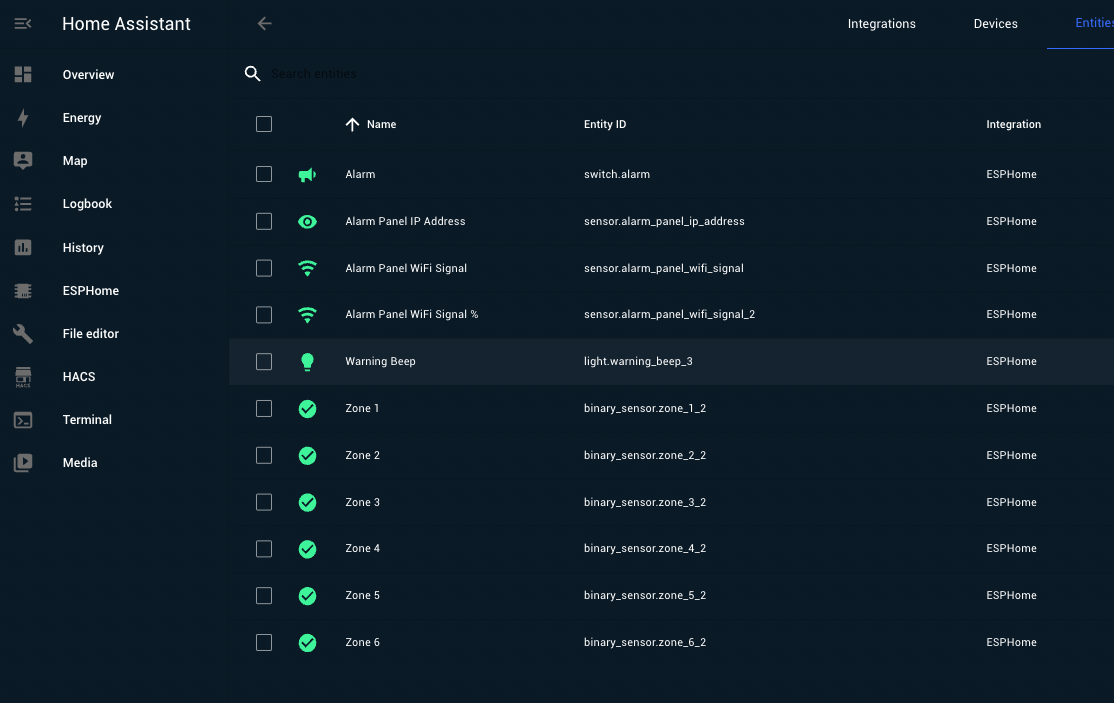
When first added to Home Assistant, all zones and outputs on the Konnected Alarm Panel are added to Home Assistant with generic names like "Zone 1", "Zone 2", etc. It's simple to rename these zones within the Home Assistant UI.
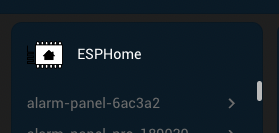
- Find the Konnected device in the ESPHome card on the Home Assistant integrations setup page. If you have multiple ESPHome or Konnected devices, they all will appear here.

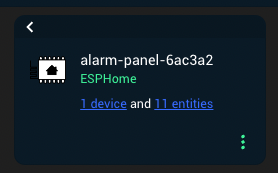
- Click on the entities link for this device to view and modify the zones and entities. Note: depending on the device and firmware build chosen, you may see a different number of entities per device.

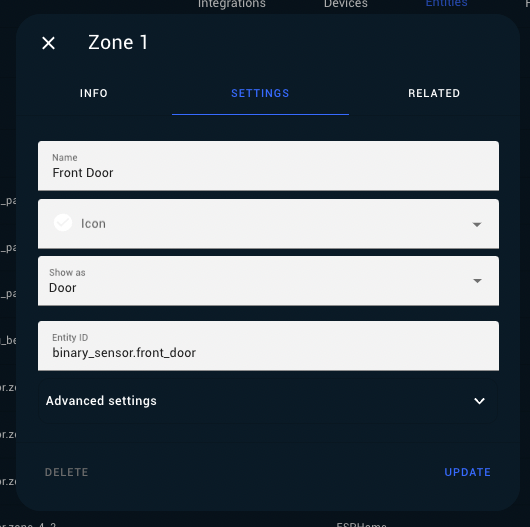
- Click on each entity to customize the name and other attributes of each entity:

- Depending on the entity type, you can customize the entity to appear and behave in Home Assistant in different ways:

Entity Customization
Name
Choose a name for the entity that describes what it represents, like "Front Door" or "Siren".
Icon
Customize the icon if you want Home Assistant to display a custom icon other than the default for that zone type. Leave this blank to use the standard icon type for the zone/entity type.
Show as
Select the option that best describes the sensor type. This will set the default icon (for example Door entities are shown as a door open and closed icon) that makes the most sense for the device.
Entity ID
The Entity ID in Home Assistant is a unique identifier for each entity that is used in automations, scenes, and when building dashboards.
Entity Status
Set entity status to Disabled if the zone is unused. Set entity status to Hidden to hide the zone/entity from auto-generated dashboards, but still have them available in Home Assistant.
Change Area
Assign the zone/entity to an area that's different from the area of the Konnected device itself. This is common in wired alarm system setups when one Konnected panel monitors zones throughout the home.