Check Wi-Fi Signal in Garage
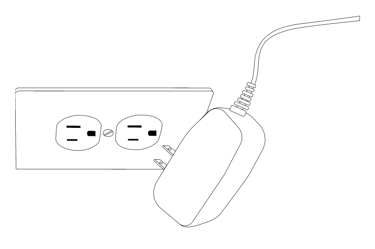
Move the device into the garage and plug it in.
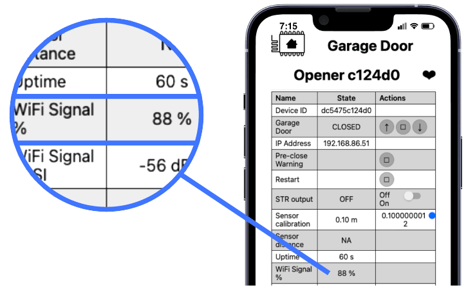
Tap Open Web Page to see the internal web interface of the Konnected GDO. Scroll down to Wi-Fi Signal % to see the signal strength.
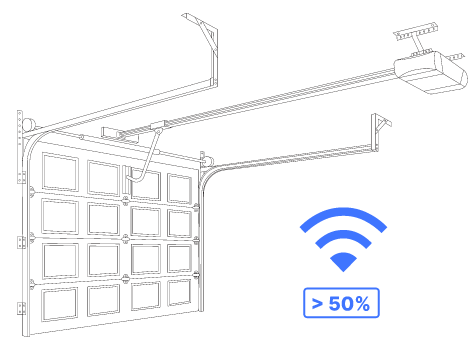
Ensure that the signal strength is at least 50% for best results.
Mounting Option 1: Near the garage door motor
The GDO blaQ can be mounted on the ceiling, on the garage opener support beams, or on the garage opener itself and wired to the garage opener motor unit. Or, mount it on the wall and wire it to the wall button. Choose a location that has a nearby power outlet to plug
it in, and mount it in an orientation so that the warning light is visible in the garage.
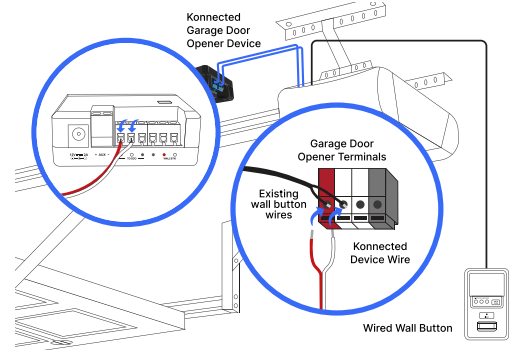
The simplest installation requires connecting only one pair of red and white wires. Leave all existing wires in place and insert one end of the red and white wire into red and white terminals on back of the garage opener motor. Insert the other ends into the red and white
terminals labeled TO GDO on the Konnected device. Secure the wire out of the way of the path of the moving garage door and mount the device using the included mounting screws or command strips.
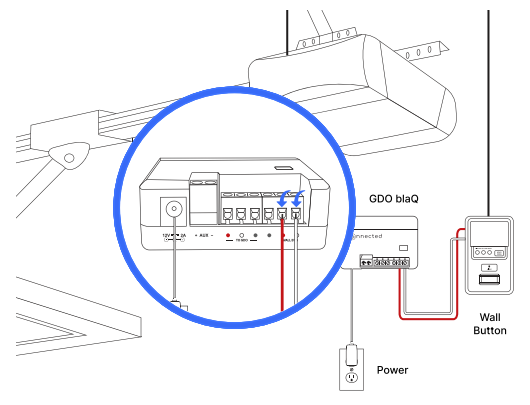
Mounting Option 2: Near the wall button
Optional: Additional Input
Either of he gray terminals may be used for an additional dry-contact input, such as a contact sensor or motion sensor. To connect a contact sensor, use the gray and
white terminals. For a motion sensor, additionally connect to AUX +/- for power.
Optional: Pass-thru Wiring
If it’s too difficult to fit the additional wires for the GDO blaQ into the terminals with the existing button wires, the device is equipped with a pass-thru feature to make wiring cleaner.
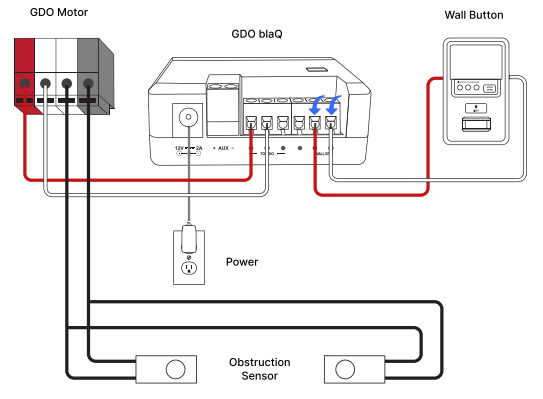
First, remove the wall button wires from the red and white terminals on the back of the motor unit and reconnect them to the red and white terminals labled WALL BTN on the Konnected device.
Then, connect the new red and white wire in their place, and connect the other ends to the red and white terminals labeled TO GDO. Leave the existing wires for the obstruction sensor beam in place.
Power It Up!
Plug in the Konnected GDO and the garage door opener unit.
Test Opening and Closing
Use your smart home app or the device’s internal web page to test the open and close functions and check that the door status is read correctly. Open and close the door completely without stopping after setup. This is so the device can time how long it takes to open and close the door completely. 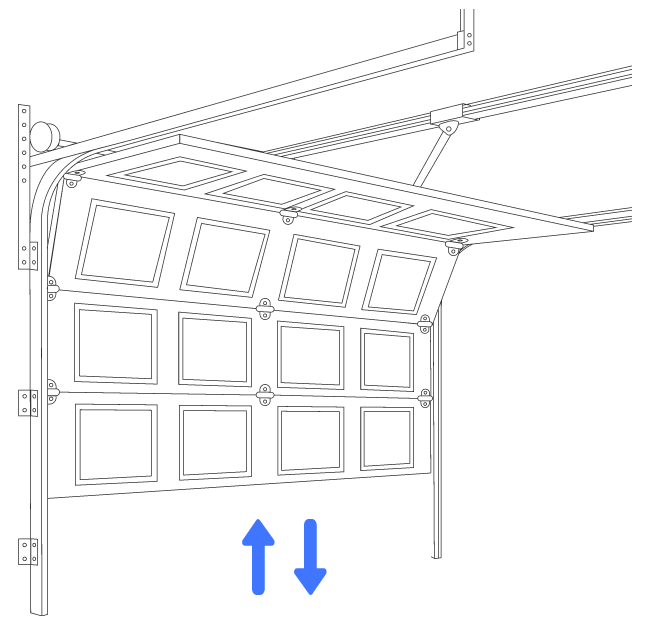
An audible & visual warning will activate for 5 seconds before the Konnected device triggers the garage door to close. This is a required safety feature and cannot be disabled.