This article refers to legacy drivers for the Konnected Alarm Panel and Alarm Panel Pro. This integration is deprecated and should not be used for new installations!
New installs: See Connecting the Alarm Panel to Hubitat (ESPHome)
Now it's time to define each device that's connected to the board. You don't have to do this all at once. You can come back to this screen any time to re-configure.
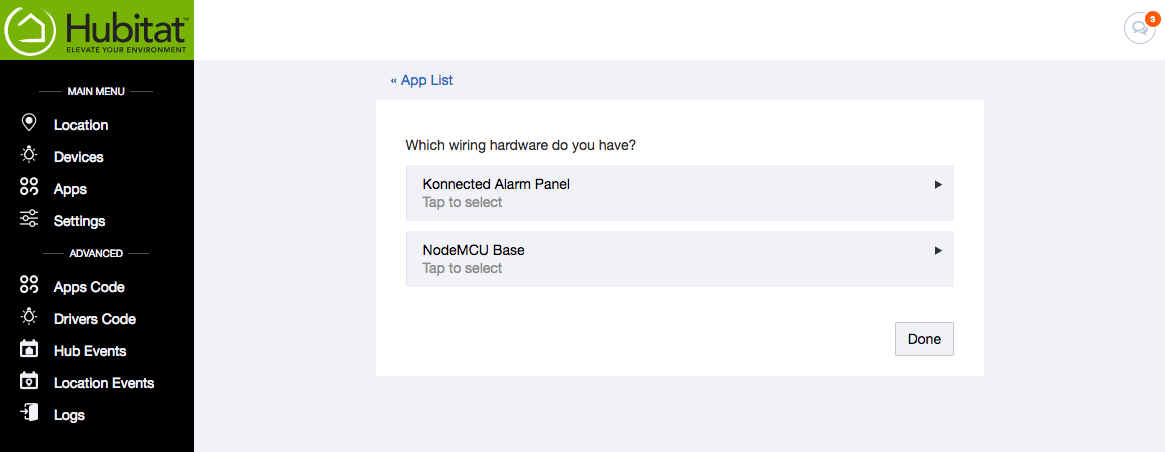
- Select the type of hardware you're using. Konnected can be used with our branded hardware or the generic open-source NodeMCU pinout. Your selection here determines the zone or pin labels on the next screen.
- This screen configures the Konnected device. First, you can define a name for this Konnected board so you can more easily identify it later.
Then click on each zone to select the device type attached, then name the device. When you're finished click Done.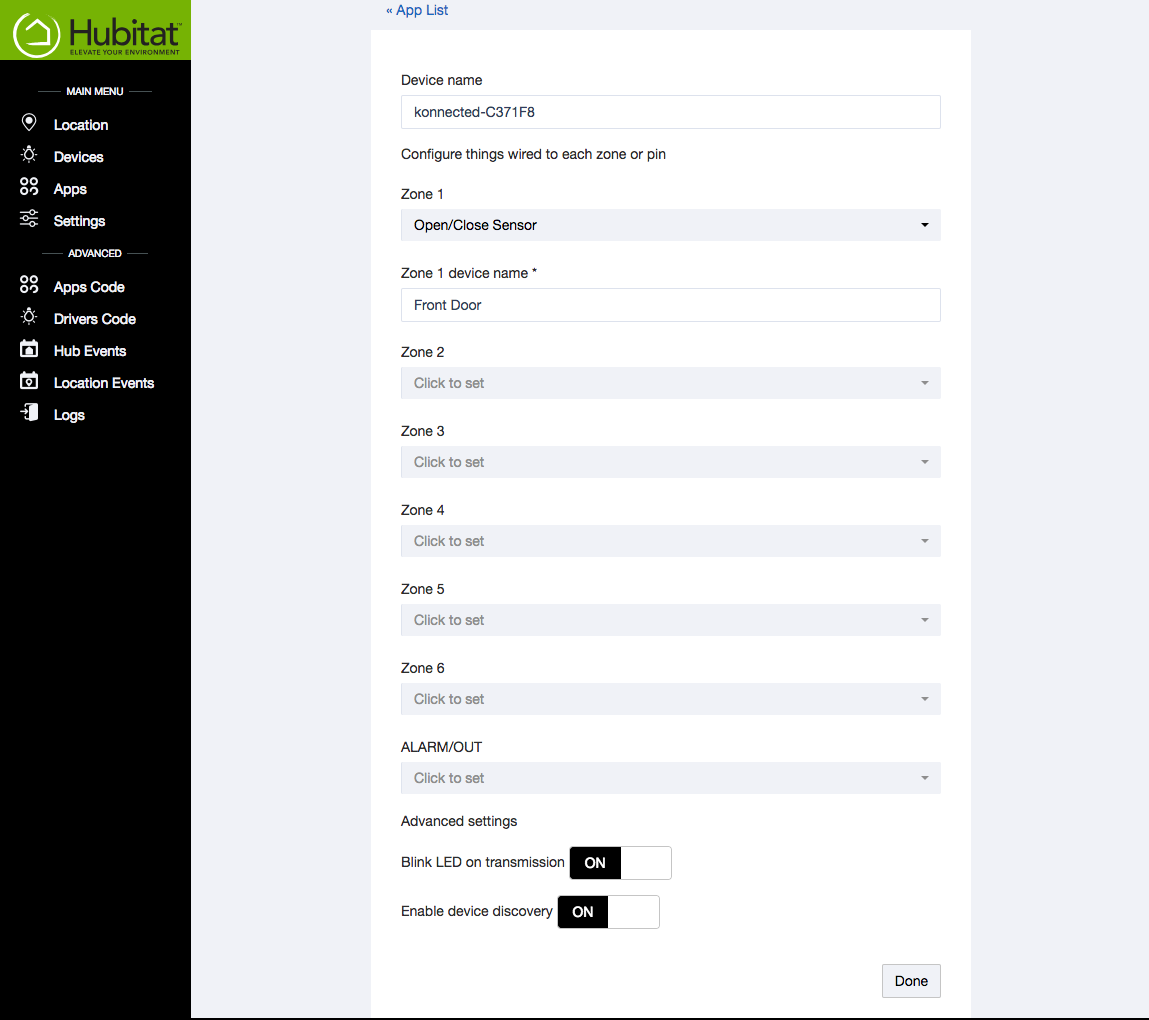
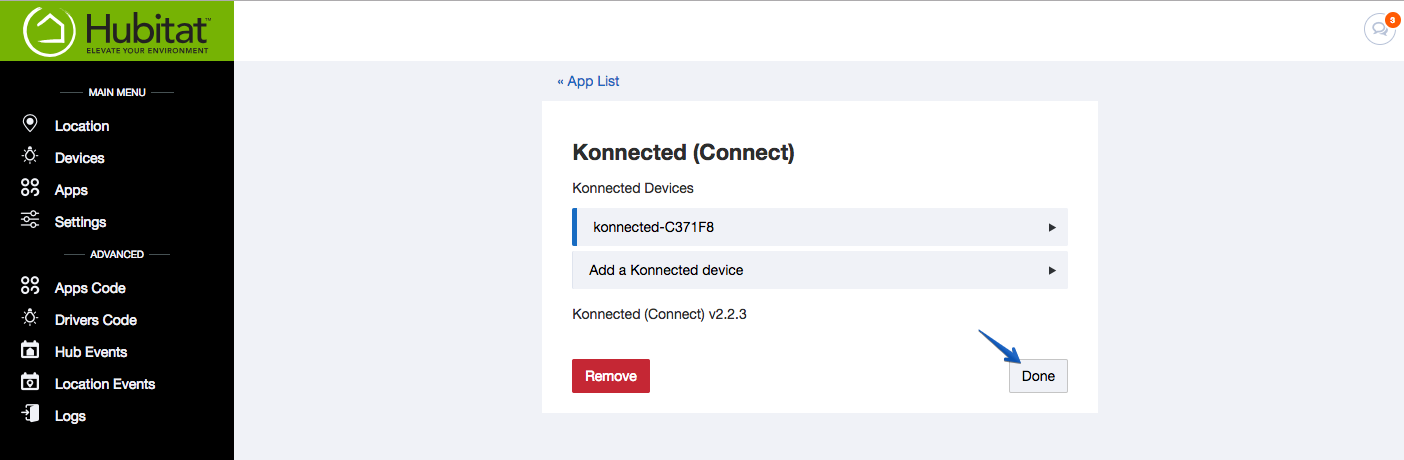
After clicking Done, your Hubitat hub will send the configuration to the Konnected device. It should reboot and the blue LED will blink a few times as it reconnects to WiFi and reports the initial status of the devices attached. - Make sure to click Done on the last page otherwise the app won't be fully installed!
- Now you will see each sensor and switch in your Devices list.
Next Step: Adding More Devices